
In this second part, I submit to you a concept for making reinforcement on faceted slabs, aka floors with edited sub elements. Thanks Håvard for submitting such a shape….
OOTB Revit doesn’t like that much. Making rebars for this is a real pain.

It took me some time to figure out how to deal with that, as I first believe that Dynamo will be used the same way as for the wall of the part 1/2. I was wrong, or maybe not me but Revit was. Some kind of limitation for making UV grids on flat faces.
I started then to look for something else, and tried with edges. The result needs to be elaborate a bit, but the result I was looking for is here.
The video show you the process I followed, but I will explain some points.
I select the edges, then do an array of points from it; connect the points with curves; make Structural framing on them. Nothing really hard to figure out. The main problem is to order correctly the points on the edge so that it creates a grid like this
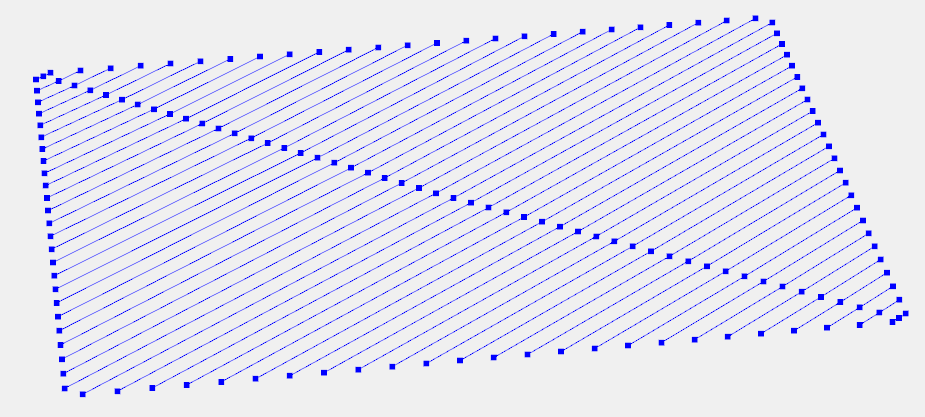 and not a grid like this (could be fun though…)
 That’s why I’ve connected a boolean checkbox with a reverse list node; 2 or 3 try-error and you’re done.
 The image here is from a custom node, the most convenient way to repeat a bunch of node in a definition. The waited input is a boolean node, one per edge. The inputs for the custom node look like this

The definition file is available here and the custom node can be found here.
Have fun and ask questions if needed. Feedback much appreciated.
Julien

Pingback: Dynamo story: Reinforcement that “can’t” be done…..Part 2/2 | DynamoBIM